Did you know that there’s an entire week dedicated to Elvis Presley? I didn’t know until recently, but it makes sense. I mean, he is The King, after all. Since we’re in the middle of Elvis week right now — it’s August 10-16 — I thought I’d celebrate by creating an Elvis-inspired DIY.
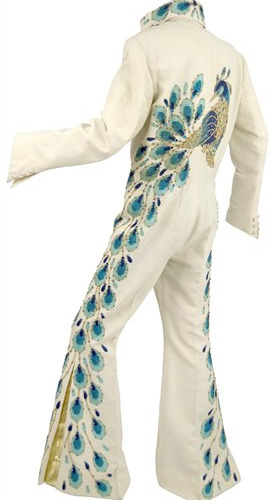
image credit: Huffington Post
I’m partial to early Elvis myself, and I’m not a big fan of bedazzled jumpsuits as a wardrobe choice for men, or anyone, for that matter. However, some of the late ’60s / early ’70s Elvis jumpsuits have decorative elements that are quite inspiring. I took my inspiration for this craft from Elvis’ peacock jumpsuit. It was his favorite performance costume, which is no surprise. C’mon, it’s a glittery peacock! And it sold for $300,000 back in 2008, making it the most expensive piece of Elvis memorabilia sold at auction.
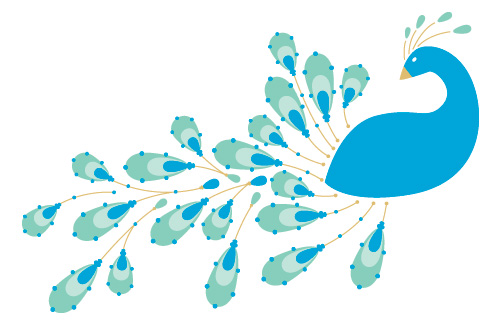
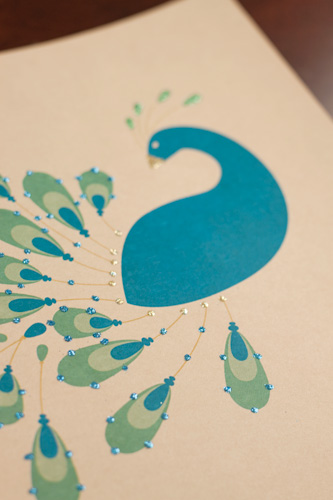
My peacock is much more stylized than the one on Elvis’ jumpsuit, but I just had to glitz it up with a little glitter. I used Martha Stewart glitters (a recent crafty splurge) in Florentine Gold, Verdelite, and Lapis Lazuli to embellish the peacock, and I used a ballpoint glue pen, also from Martha, to create areas for the glitter to adhere to. Download a greeting card version of the peacock, which is designed to fit a standard A6 envelope, or a decorative print version that you can decorate and hang on the wall. You can glam yours up with as much glitter as you’d like, or you can leave glitter-less. In the top photo in the post, I printed the peacock onto Khaki cover stock from Paper Source.
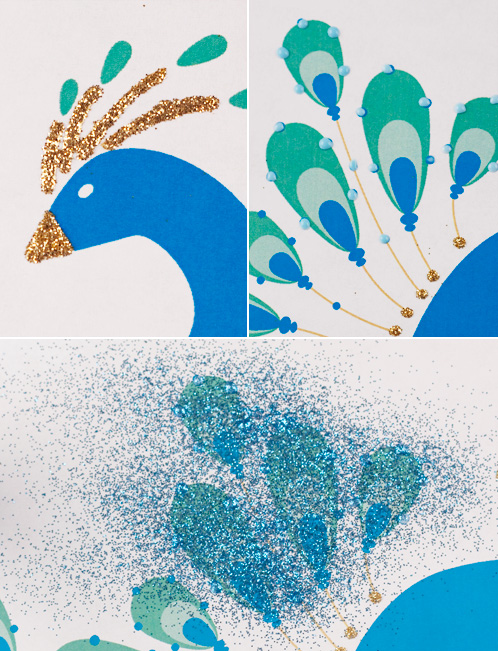
As you can see in the top left image, the glue lines from the ballpoint glue pen spread a bit after they were glittered. They were a bit wide for my liking, so in the final print I didn’t glitter any of the lines in the image. The top right image illustrates what the glue will look like when you apply it. It only took a little squeeze on the pen to get just the right sized glue dots. And, after your glue dots are in place, it’s time to apply glitter. I did one color at a time, let it dry completely, tapped the excess off onto a piece of paper, and used a small paintbrush to brush off any stray glitter.
Happy Elvis Week!
images from Kristen Magee / Elvis jumpsuit image from The Huffington Post